| |
  |
| |
|
| |
|
|
| |
A Sensational Basement On A Sensible Budget
IF YOU HAVE JUST COMPLETED a basement-remodeling project, all those wonderful ideas—from home improvement magazines and television programs—that you could not include may seem to taunt you. The reality for many homeowners is that the costs of a design consultant and a review of thousands of features to potentially incorporate into your project are not affordable.
Here are minor improvements for turning your not-so-grand basement into a pleasant living space, while working within a minimal budget. Home Maintenance Concepts (HMC) can help.
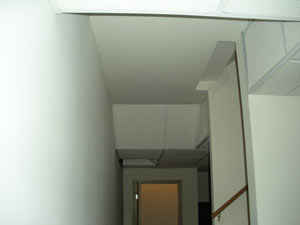
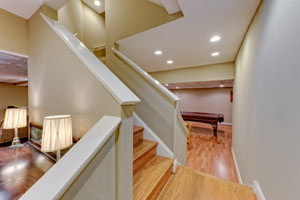
REMOVE WALLS that enclose basement steps to dramatically open the entrance to your living area.
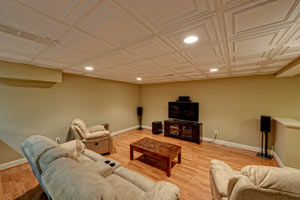
SELECT COLORS TO SUIT YOUR SPACE—dark colors to create a rich-looking ambiance and soothing environment, or bright accent colors to provide dramatic flair in small spaces. As part of HMC’s painting package, its designer can help you choose the best colors.
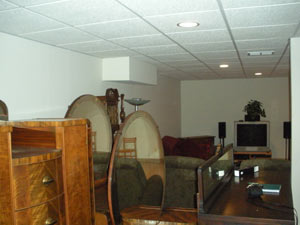
REPLACE STANDARD CEILING TILES WITH PVC ENHANCED CEILING TILE PATTERNS. In advance, obtain samples from online shops; cut with scissors and install them yourself. Or let HMC lend a hand.
PLACE SOFFITS—architectural elements referring to the underside of an eave or overhang—over a knee-wall or waist-high wall to dramatically open up ceiling heights or create functional multi-purpose areas in a wide space.
REDUCE REMODELING COSTS by preparing your space before the contractor arrives. Communicate with your contractor to arrange an agreement.
CONSIDER ALTERNATIVES TO WALL-TO-WALL CARPETING. As long as moisture levels are appropriate, consider laminate floor products; HMC can install them. Another option to consider is carpet squares for rooms used by young families. Squares soiled beyond cleaning can be removed easily and replaced without removing all furniture and carpeting. |
|
| |
© 2011, The Women's Journal, Chester County editions
Reprinted by kind permission
|
|
 |
|
|
| |
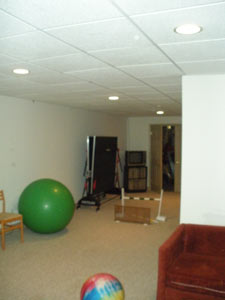
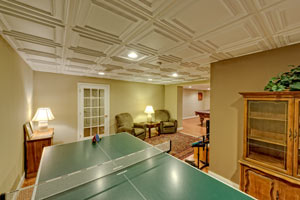
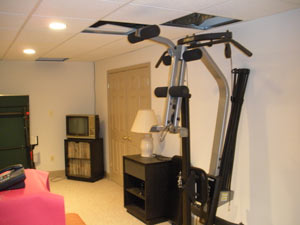 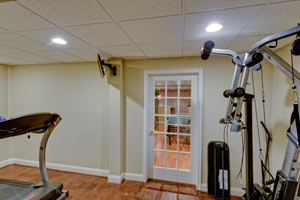 Before After
 |
|
| |
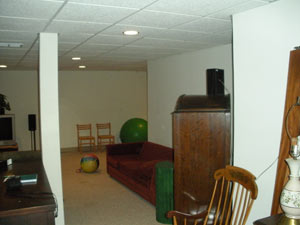
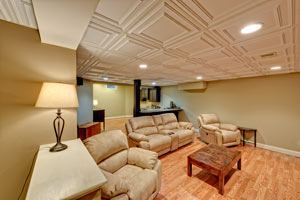
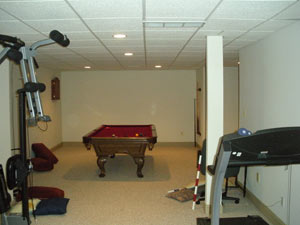 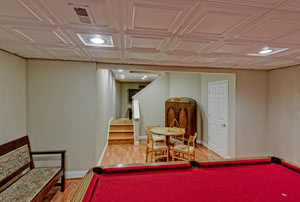 Before After
 |
|
| |
  Before After
 |
|
| |
  Before After
 |
|
| |
  Before After
 |
|
| |
  Before After
 |
|
| |
|
|
|
Master Bathroom Renovation |
|
| |
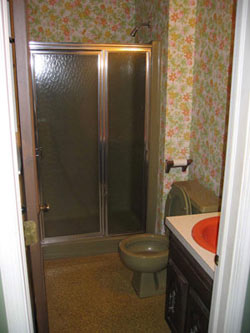
Before photo: Master bathroom renovation |
|
| |
 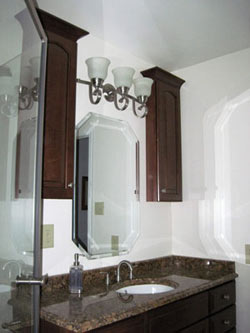
After photos: Master bathroom renovation |
|
| |
|
|
|
Bathroom Renovation Project |
|
| |

Before photo: Hall bathroom renovation |
|
| |
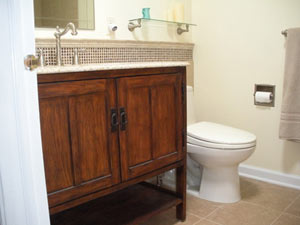 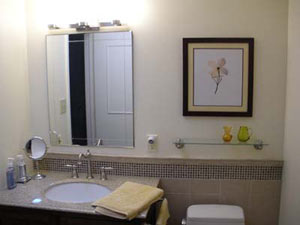
After photo: flooring After photo: frameout, tile, painting |
|
| |
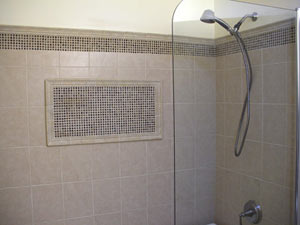 
After photo: Shower - tile, painting After photo: Closet relocated from bathroom to hall |
|
| |
|
|

